
Three-point lighting is a fundamental technique used in photography, film, and video to effectively illuminate a subject. It is also the system of lighting widely used in classical hollywood filmmaking.
Three-Point Lighting (TPL) employs three light sources—key light, fill light, and backlight—strategically positioned to create a balanced and visually appealing scene. This method allows for controlled manipulation of shadows, highlights, and overall contrast, mimicking natural light interaction.
Key Components and Light Sources in Three-point lighting
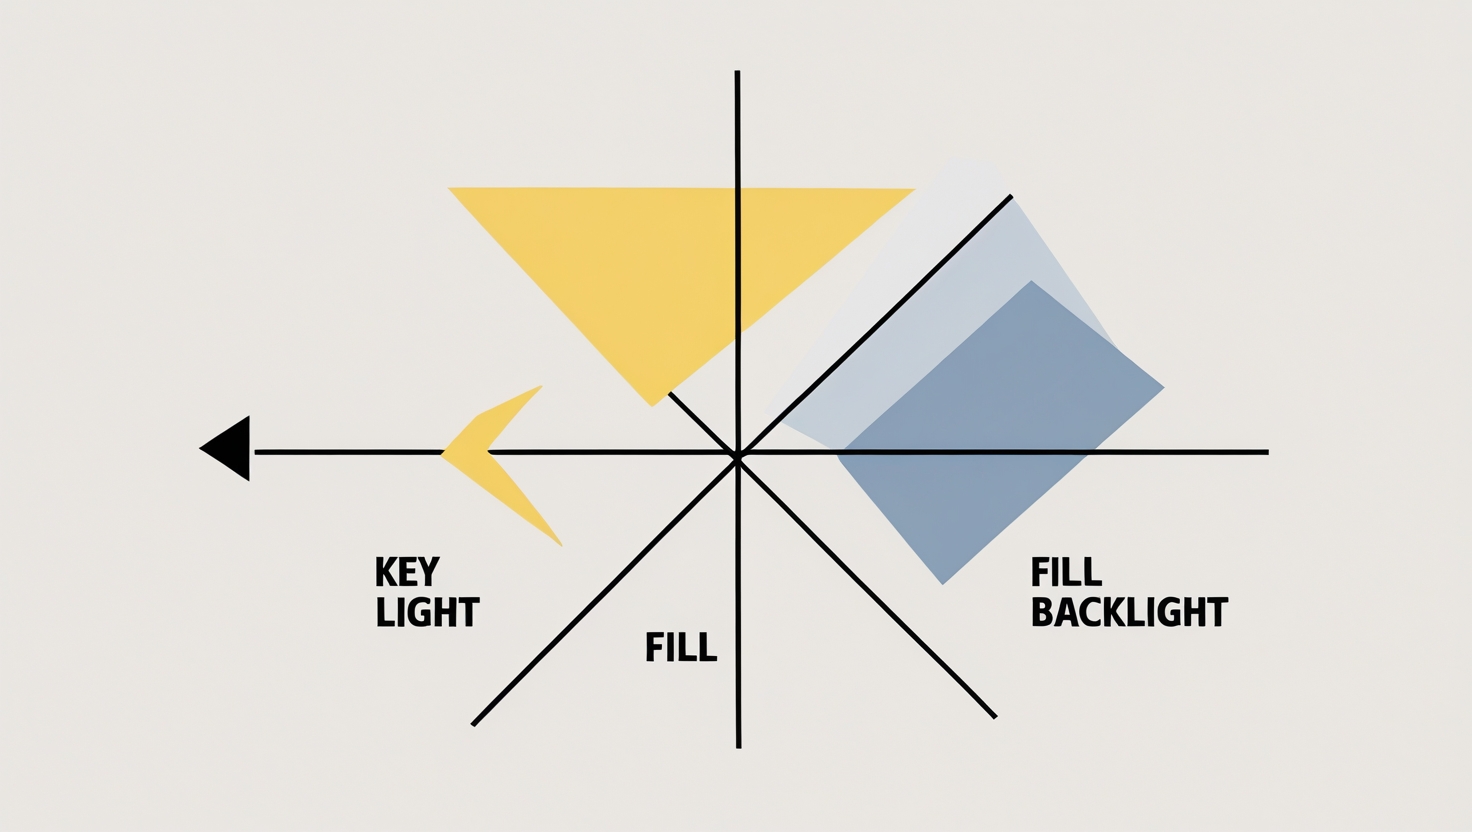
Key Light: The primary and brightest light source, typically placed at a 45-degree angle to the subject, defines the main shape, shadows, and highlights, emphasizing the subject’s features and providing depth. Perfect key light angles range from 15 to 70 degrees; 45 degrees is ideal for most setups.
Fill Light: Positioned opposite the key light, also at a 45-degree angle, the fill light softens shadows created by the key light, ensuring the subject’s features are evenly lit. It is less intense than the key light to preserve dimensionality.
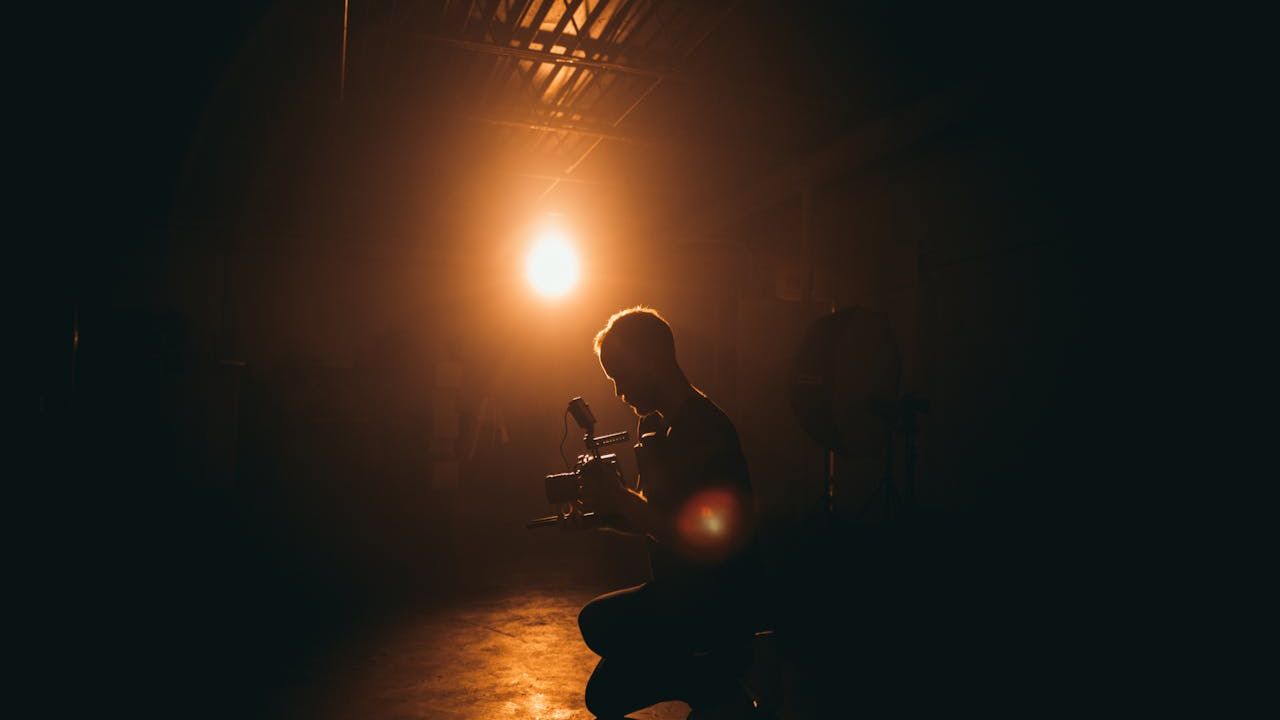
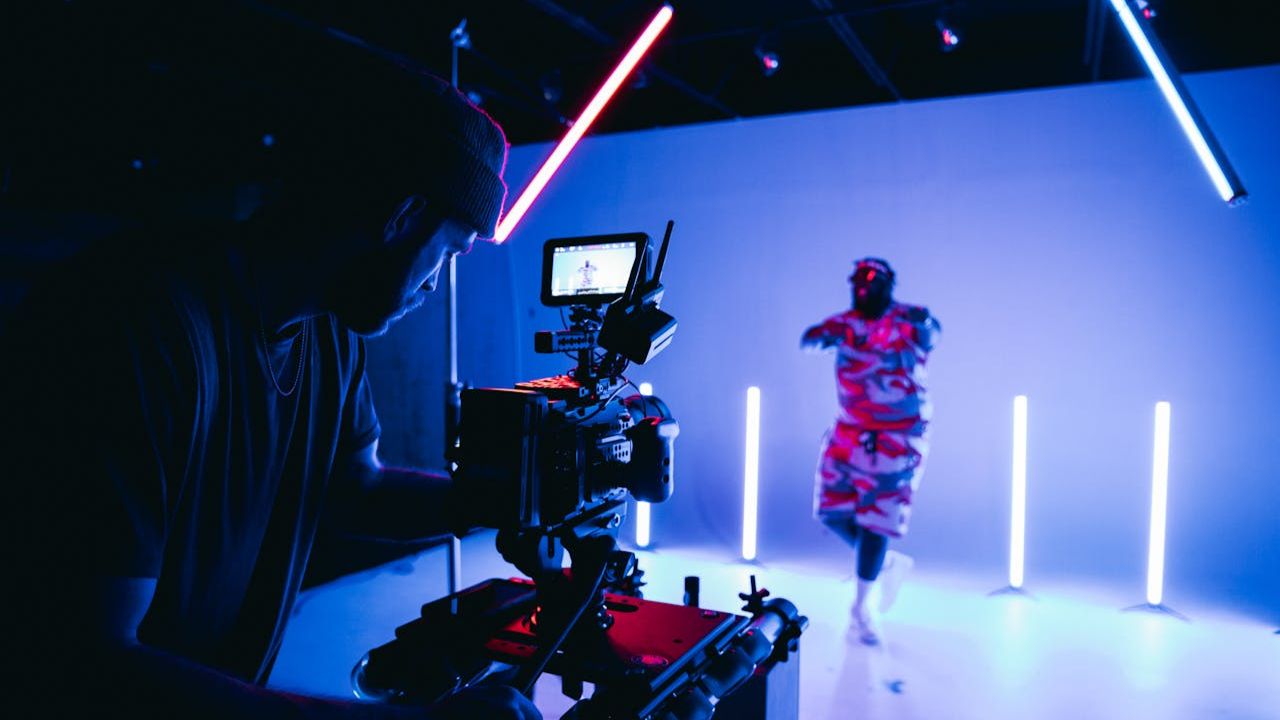
Backlight: Placed behind the subject to create a rim of light, separating them from the background and adding depth. Also referred to as a rim or hair light, it helps avoid a flat appearance.
Setting Up 3-Point Lighting
Assess Ambient Light: Before setting up lights, evaluate existing light to determine the key light’s optimal position and brightness. For maximum control, start with a completely dark set.
Position Key Light: Place the key light in front of the subject, at least 3 feet away, pointing towards their face.
Position Fill Light: Position the fill light to the side of the subject at a 45-degree angle, 3 feet away.
Position Backlight: Place the backlight behind the subject, 3 feet away, directed towards the back of their head.
Adjust Lights: Fine-tune the lights until the desired result is achieved.
Tips for a Successful Three-point lighting
Experiment: Basic 3-point lighting is a starting point and can be adjusted for different moods and styles by playing with light intensity ratio, angles, distance, and brightness.
Light Intensity Ratio: The key light should be twice as bright as the fill light, with a ratio of 2:1 for a cinematic look. For commercial or corporate videos, a ratio closer to 1.5:1 can be more inviting, while a 1:1 ratio may flatten the image.
Color Temperature: Ensure all lights have the same color temperature to avoid color casts. Standard daylight color temperature is around 5600K, while tungsten lights are around 3200K.
Soften the Light: Use softboxes and diffusers to soften the light, reduce harsh shadows, and create more even illumination. Household lamps with diffusers or white foam boards as reflectors can serve as budget-friendly alternatives.
Troubleshooting: Adjust the position and intensity of lights for uneven lighting, use additional fill lights or reflectors to reduce unwanted shadows, and match the color temperature of all lights to maintain consistency and avoid color casts.
Benefits of Three-Point Lighting
Enhanced Video Quality: Improves video quality with minimal effort, ensuring well-lit videos for both live and pre-recorded content.
Professional Appearance: Creates a professional look, especially when using green screens or virtual backgrounds, by providing better definition and making the scene more believable.
Easy Background Keying: Facilitates easier background removal and replacement.
Creates Depth: Accentuates the height, width, and depth of the subject, helping them stand out.
Some Common Mistakes to Avoid
Some common mistakes to avoid when setting up a 3-point lighting system include:
Uneven Lighting: Adjust the position and intensity of your lights.
Harsh Shadows: Use additional fill lights or reflectors to reduce unwanted shadows.
Color Casts: Match the color temperature of all lights to maintain consistency. Standard daylight color temperature is around 5600K, while tungsten lights are around 3200K.
Lights too Close: If your lights are too close to the subject, they will create hard shadows. Place your key light in front of the subject and at least 3 feet away.
Using the same lighting setup for all subjects: Different skin tones react differently to light.
Exceeding the Maximum Flash Sync Shutter Speed: Setting your camera’s shutter speed higher than its maximum flash sync speed can result in unwanted shadows or black lines in your images.
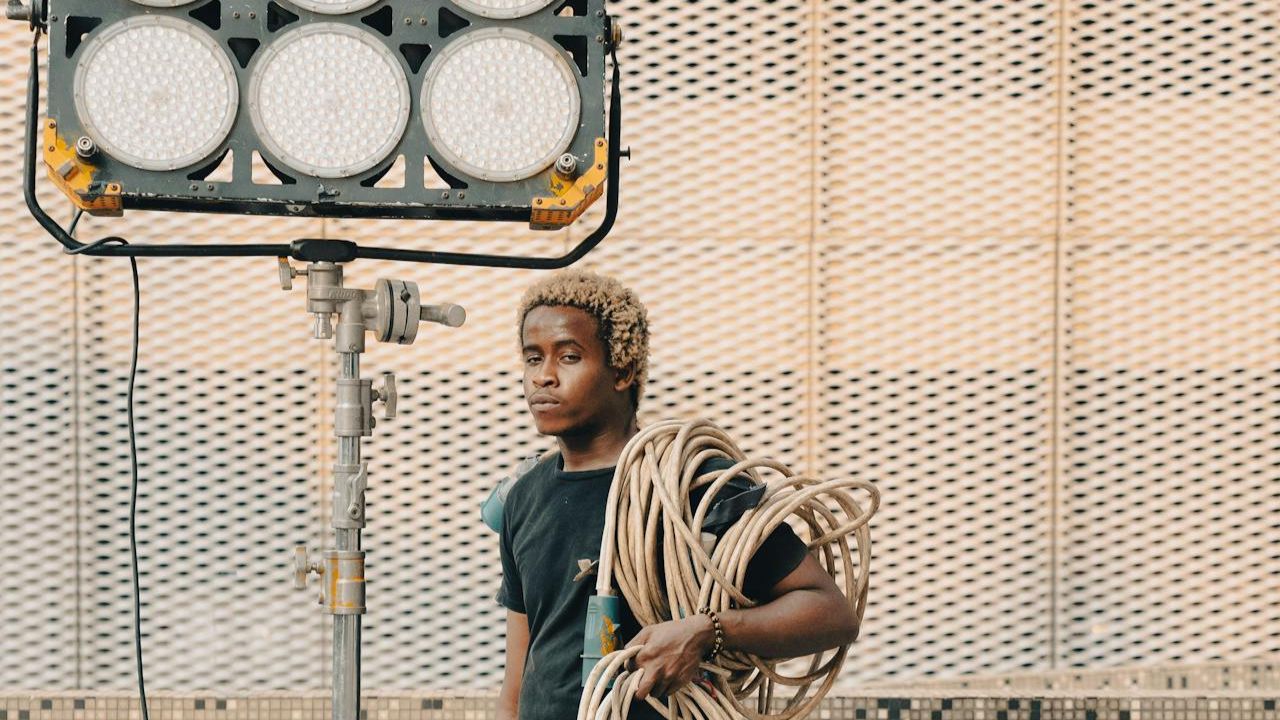
Best Types of Lights to Use
LED Lights: An inexpensive three-point light kit is the Bescor Photon LED, which is a bi-color, flicker-free LED system with a CRI rating of 95. Because they’re LEDs, they don’t give off uncomfortable heat and have decent output for the price tag.
Small, Directional Lights: A small and more directional light works great as a back light, and something as simple as a flashlight could even be used.
Adjustable Lights: Fixtures with barn doors allow adjustments to the angle of each light.
Lights with consistent color temperature: Ensure all lights have the same color temperature to avoid color casts1. Standard daylight color temperature is around 5600K, while tungsten lights are around 3200K.
You can use natural light as part of a 3-point lighting setup. Natural light can act as a key or backlight. You can also use artificial lights to supplement natural light and maintain consistent lighting throughout your shoot.
Sometimes, natural lighting in a room can look so good that it’s all you need. You can also stick primarily to natural lighting but boost the overall setting with a key light or use an accent light to add something to the scene.